Happy "Mail Art Monday" one and all.
Thanks to everyone who added a link to the inaugural post.
This week's topic is a sticky one.
How do you keep things from falling apart in the mail?
I'll share some of my favorite products and tips, and hopefully others will share their own trade secrets in the comments or through a link.
My primary source of stickiness in my mail art is a glue stick.
Keep in mind, all glue sticks are not created equal. Some of them are downright useless.
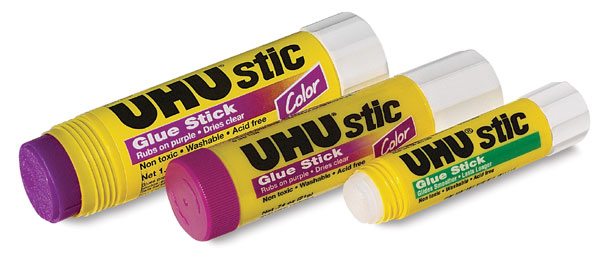
My favorite is the Uhu stic
I'm partial to the color one, because successful gluing depends on covering your paper all the way to the edges and this stick (which goes down purple but dries clear) makes it easier to see if all areas have been covered.
I lay my collage paper down on some scrap paper and make sure I totally overlap the glue around the edges and all across the paper.
Once I adhere the piece to the base I thoroughly rub it down. And since my hands are usually covered in paint and glue, it helps to have an object to do the rubbing. Some of the burnishing tools I use are the back of a spoon, a plastic card, a bone folder, and a plastic putty knife.
Since I'm a very sloppy gluer, I usually manage to get some glue on the front of the paper which attracts all kinds of gunk as soon as I try to rub it down. It helps to cover the paper with a bit of freezer paper (shiny side down) before doing the rubbing. Now everything stays clean and is less likely to tear.
Of course glue sticks aren't the only adhesive I use.
Some lightweight papers can't stand up to the rubbing of the glue stick.
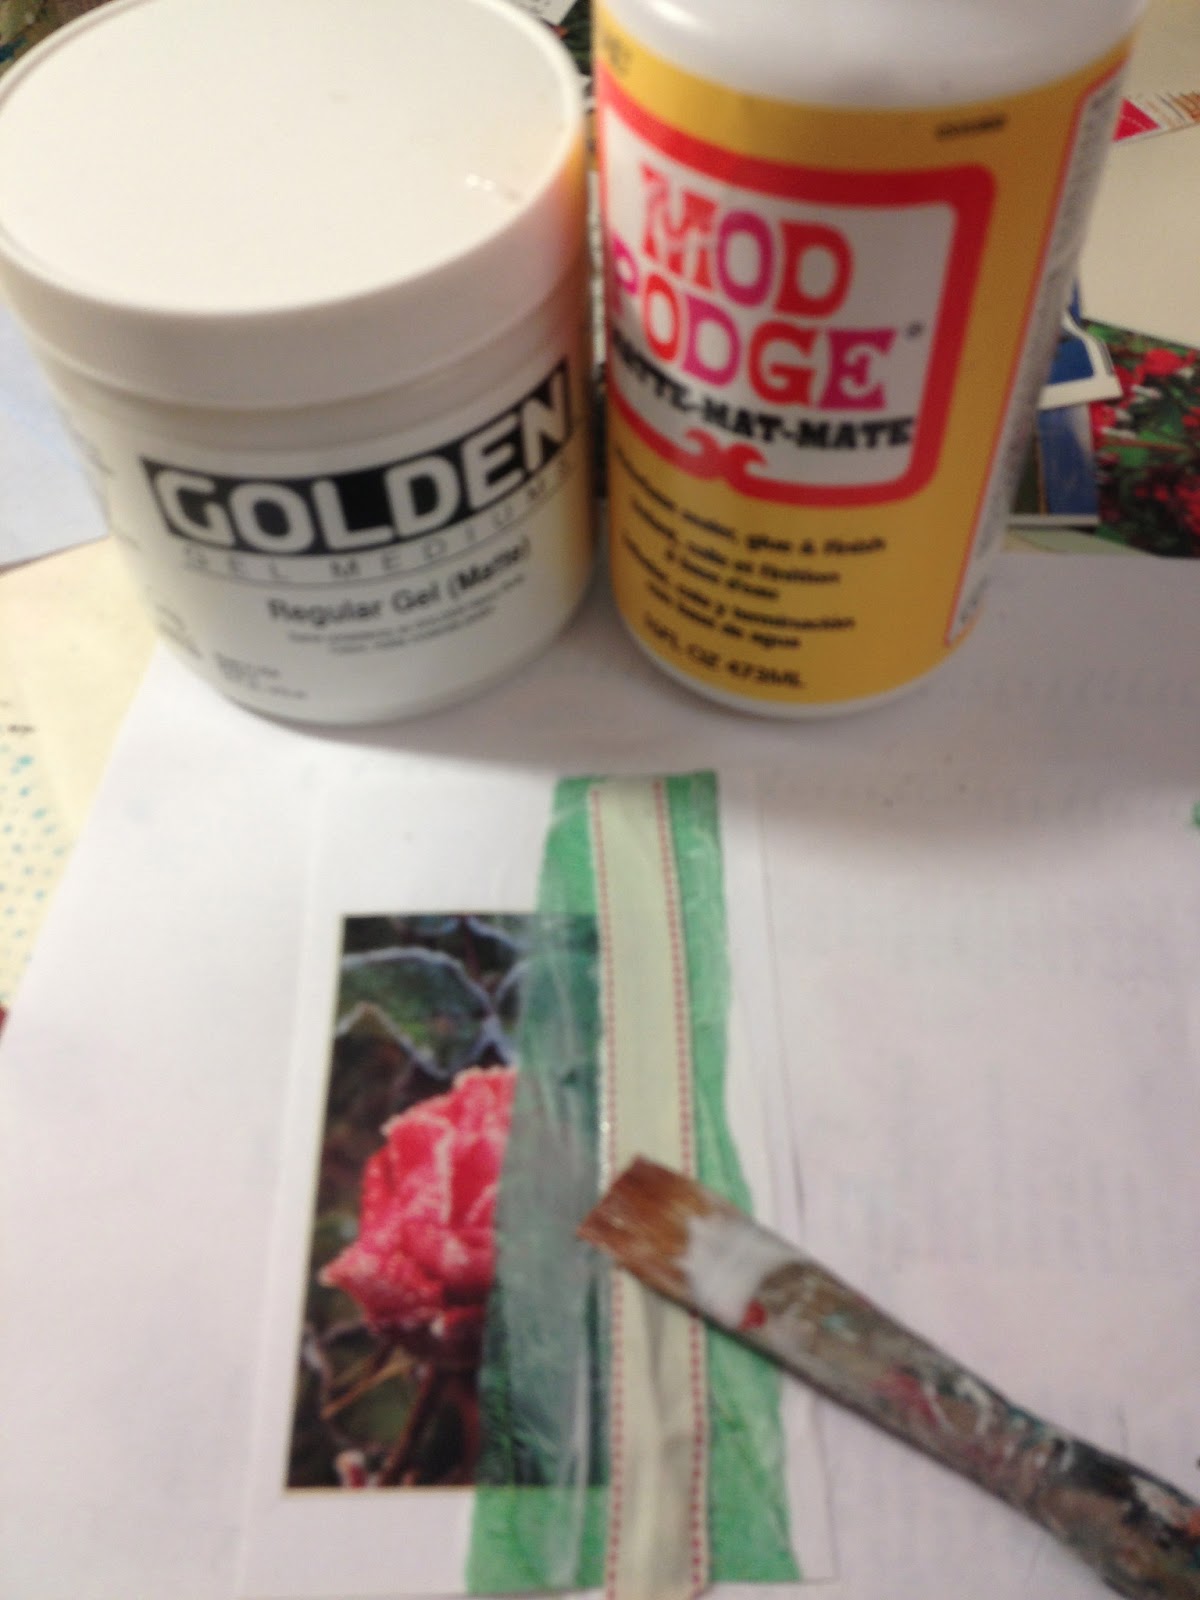
When I'm using tissue paper or other delicate items, I reach for a liquid adhesive, like matte medium or mod podge.
I absolutely love Golden brand matte medium, but that shit is expensive! I save it for special pieces. For my average postcards I use Mod Podge. Both can be used as an adhesive and as a sealer. They have a similar consistency. Mod Podge tends to be a little shinier and more like plastic. It doesn't dry as quickly, it stays a little tacky even after it's dry. It's more likely to show brush strokes. BUT, it's cheap and readily available, and works pretty well.
Regardless of what medium I'm using, I use a soft paintbrush to apply the glue liberally to my base.
I lay down my tissue paper and apply another coat of glue on top.
With tissue paper the top coat has to be applied somewhat gently so as not to tear the paper, but the top coat is pretty essential for keeping the paper in place.
The thing about glue like this is that the high moisture content makes the papers bubble and buckle.
Sometimes I like that effect - wrinkled tissue paper makes great texture - other times the bubbling is just a pain in the neck. I have pretty good luck by spreading a generous layer of glue under and over each piece and then using the flat edge of my putty knife or plastic card to squeeze/scrape the excess glue off the piece.
It doesn't always work. In the picture below you'll see the magazine page is rippled, and you can also see that I rubbed away some of the color in the image when I tried to rub out the wrinkles. I should have used a glue stick.
Ok, so what about adhering things other than paper?
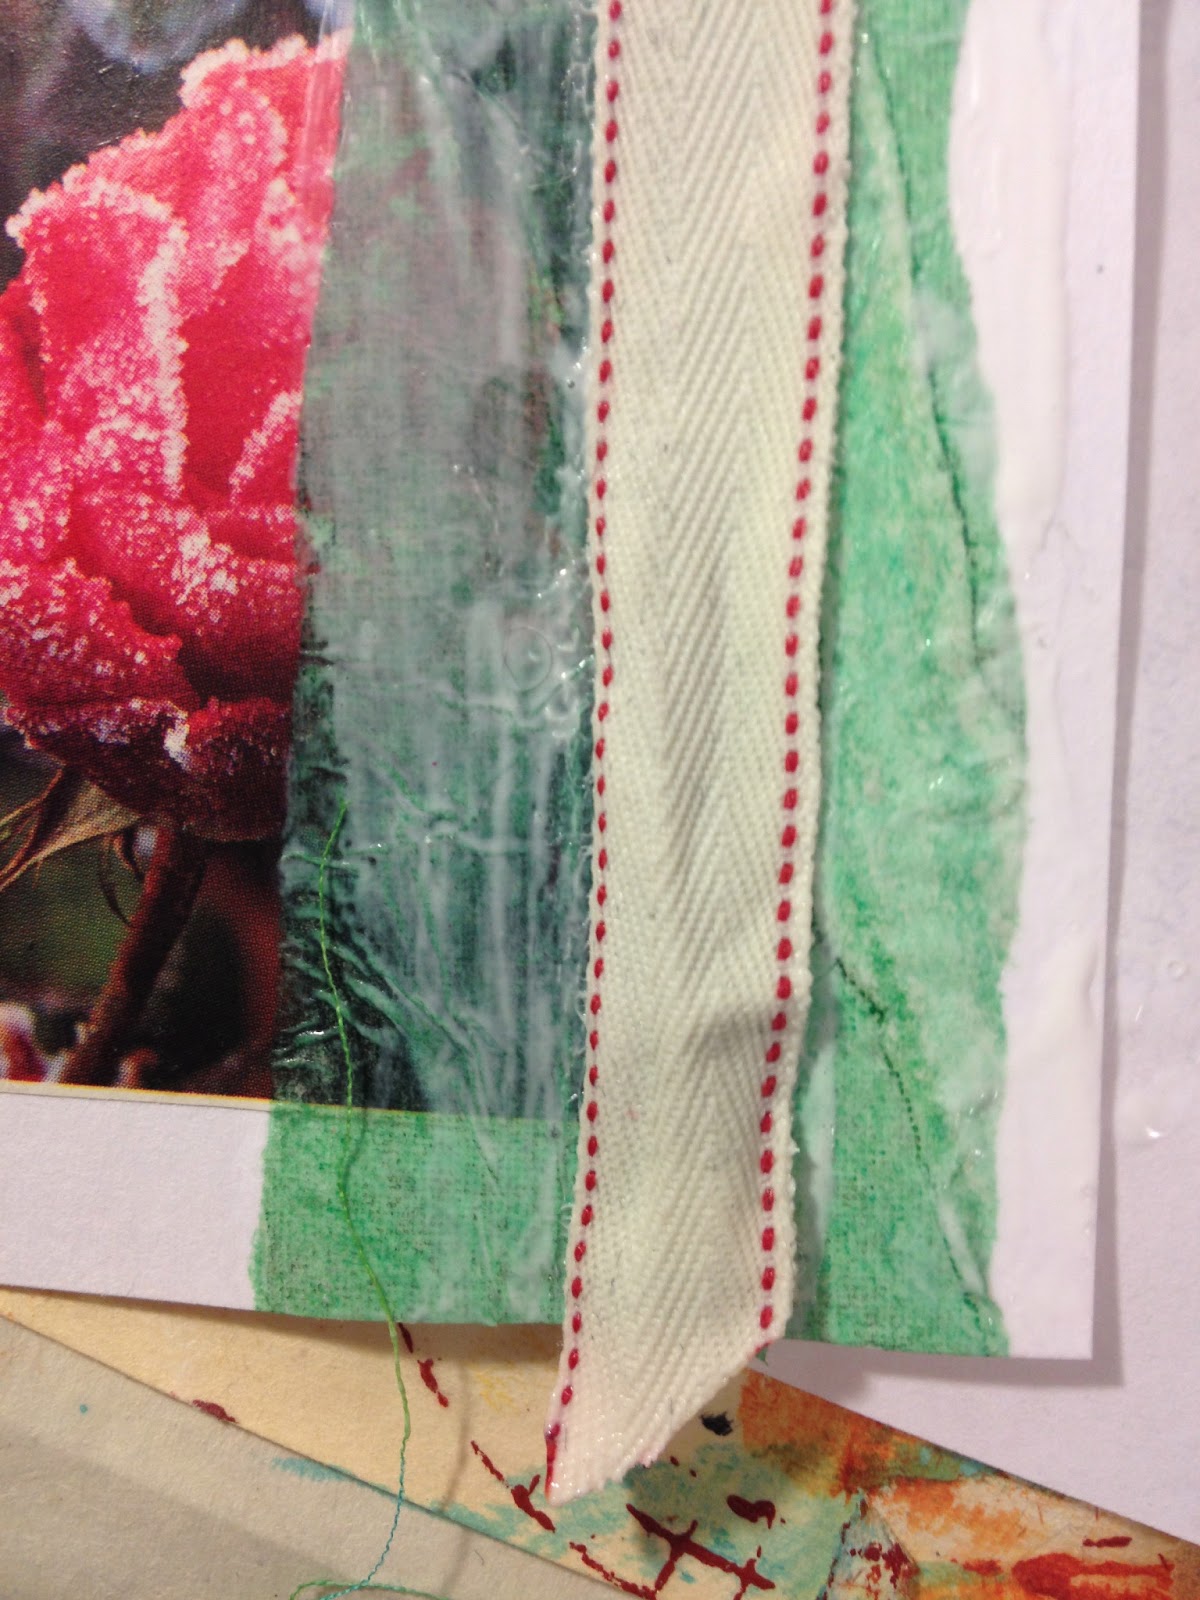
On this collage I used a piece of ribbon. I stuck with mod podge for this one, but I really had to saturate it and rub it.
It still didn't want to stick:
So I folded it inside a piece of freezer paper (shiny sides touch the collage):
and put it under a stack of books for several hours:
I might have had an easier time using tacky glue on the ribbon.
If I'd been gluing a heavier embellishment (think button or jewel or random object found in the road) I definitely would have used something stronger than mod podge.
A wonderful resource for figuring out what type of adhesive to use is "This to That" - you choose from two drop down menus, selecting the type of item you want to attach to the type of substrate you're using. When you click "Let's Glue!" it takes you to a list of suggested adhesives and tips for using them.
So back to my little sample collage.
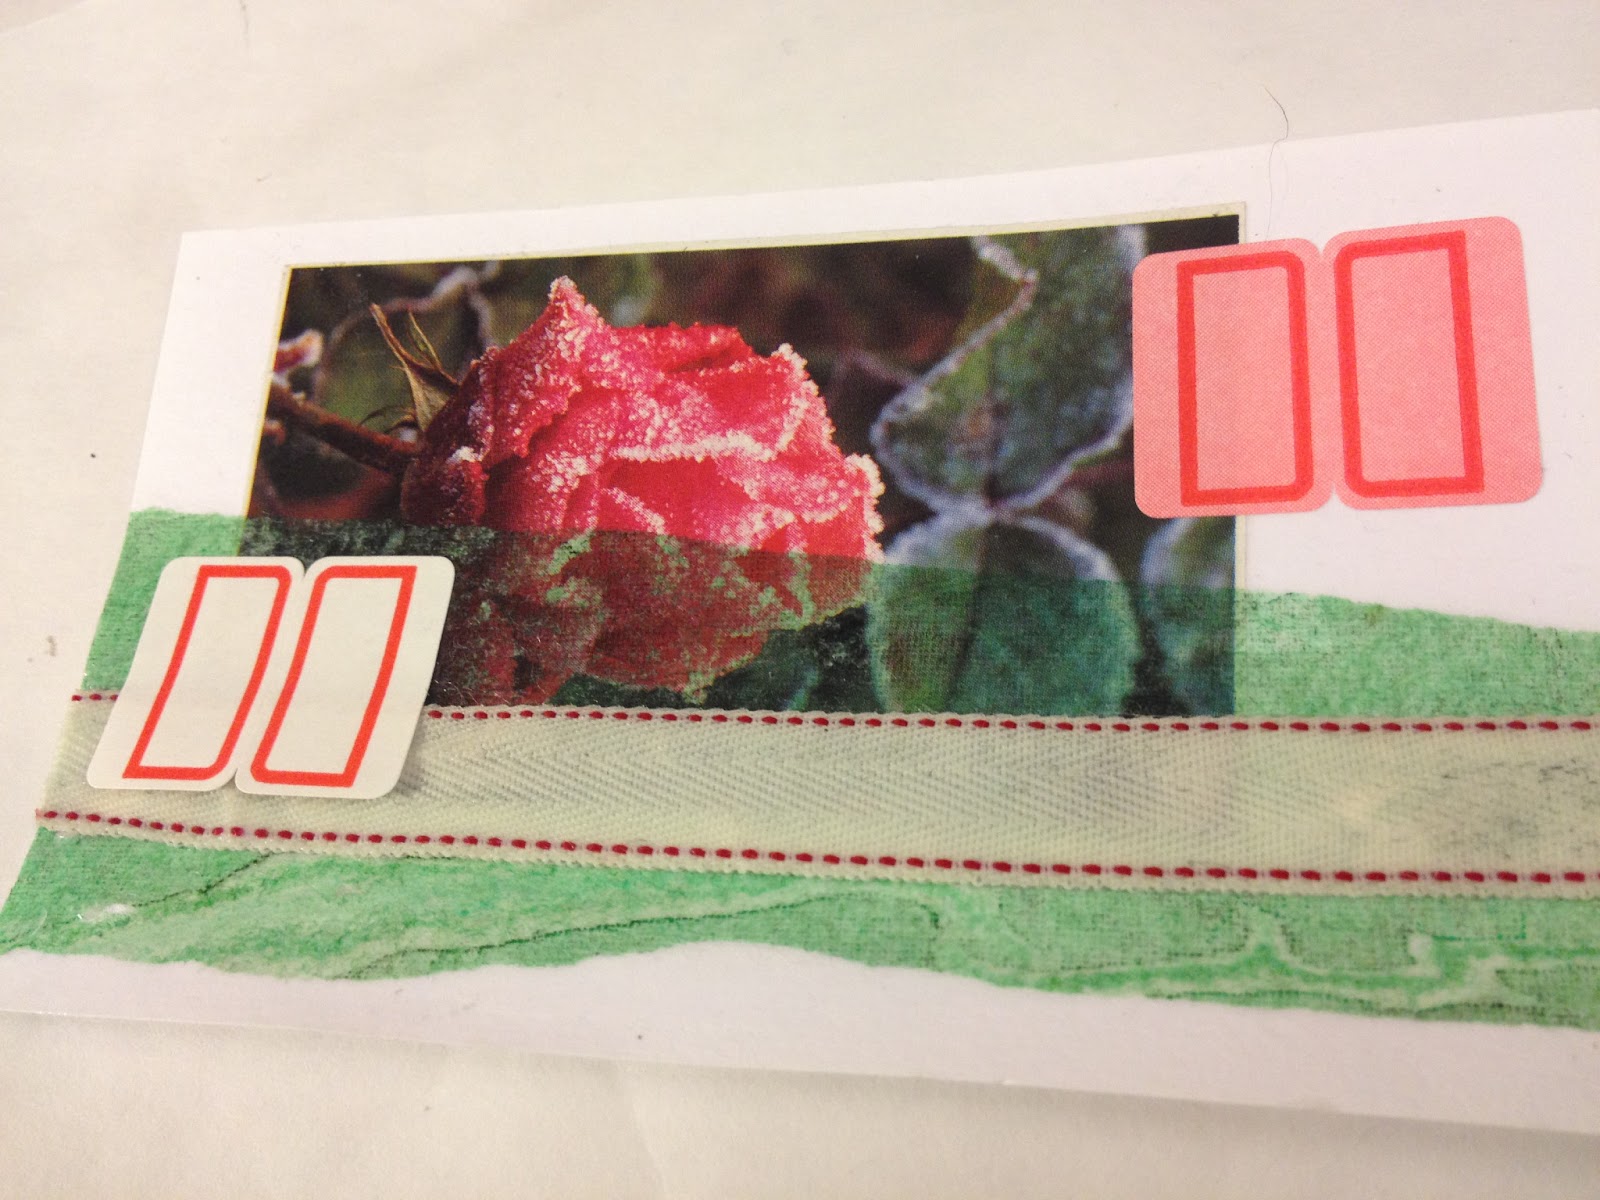
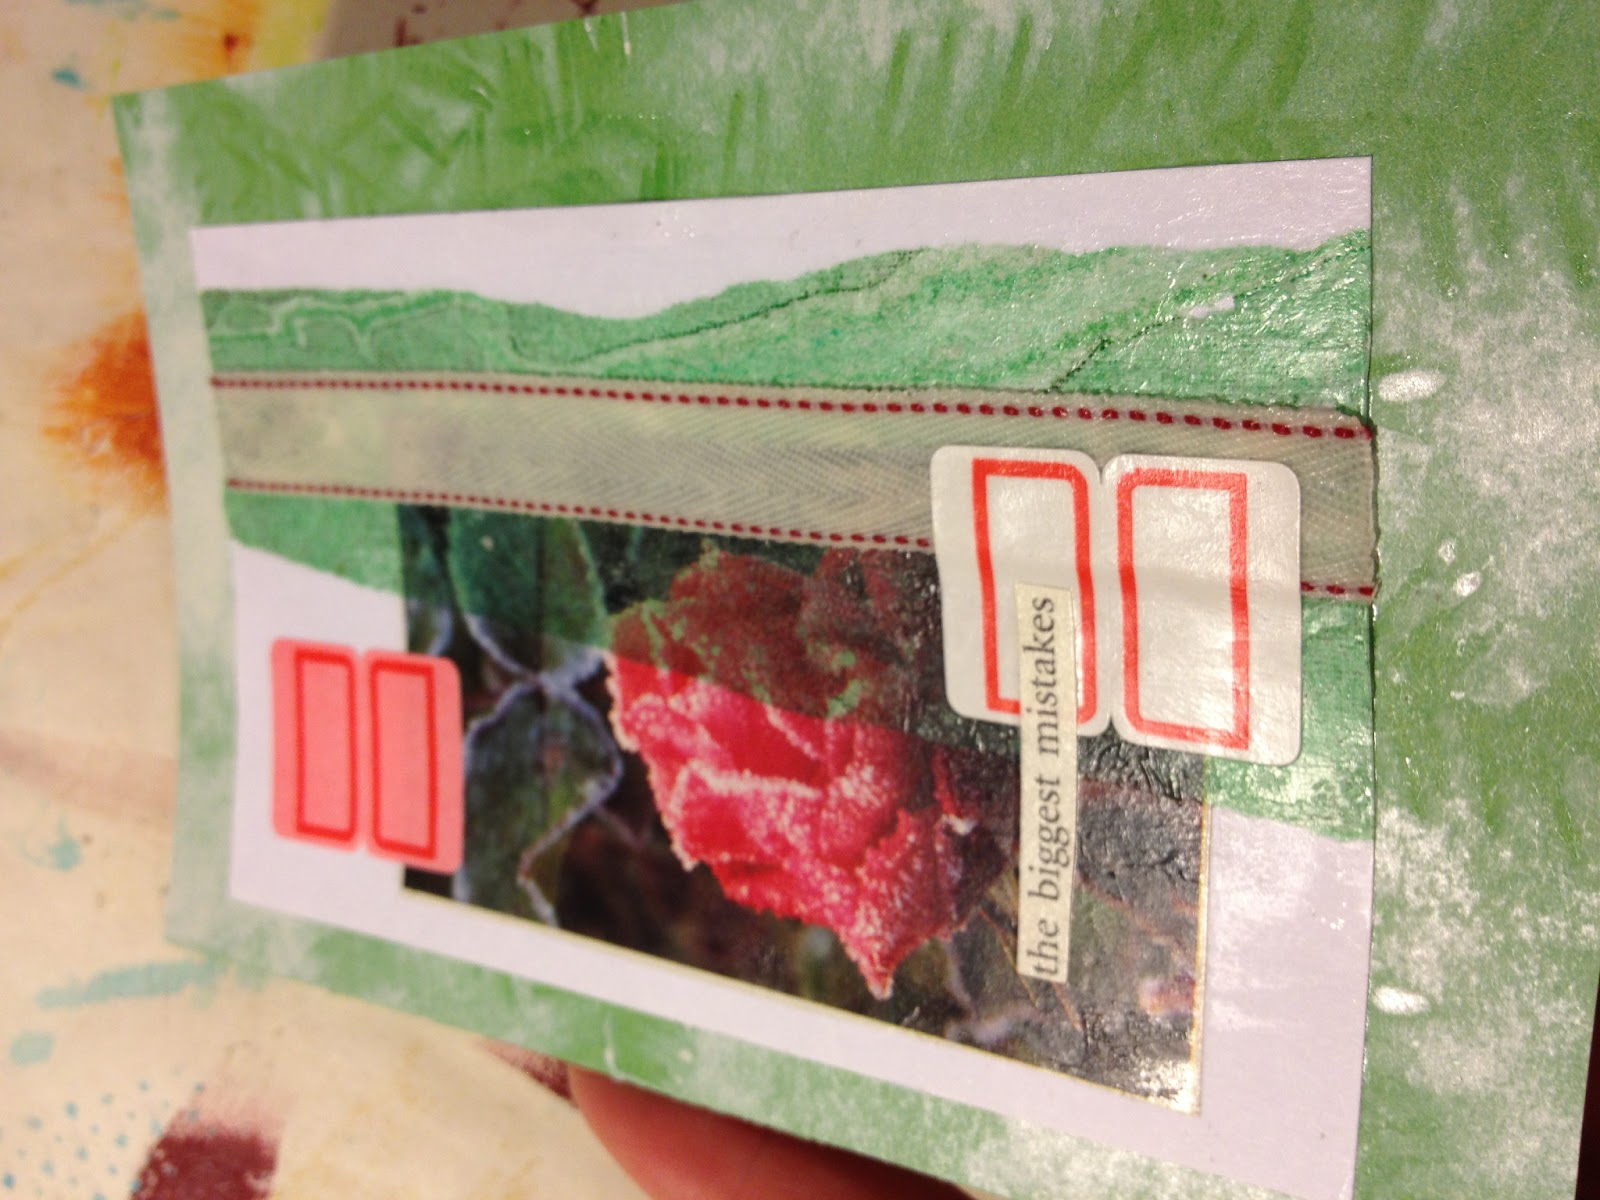
I decided to add some stickers. You'd think I wouldn't need glue since stickers are already sticky, but no.
I stuck these down and rubbed and they seemed fine, but a few minutes later I picked up the card and look - can you see that the white stickers are already lifting? The card hasn't even moved off the table and the adhesive on the stickers is giving out. More mod podge under and over the stickers will hold them in place for their postal journey.
So now I have a layered and lumpy 3x5 card. I want to stick it to a 4x6 background so I can turn it into a postcard. Experience tells me I will struggle with glue stick and mod podge in getting these two pieces to stick together.
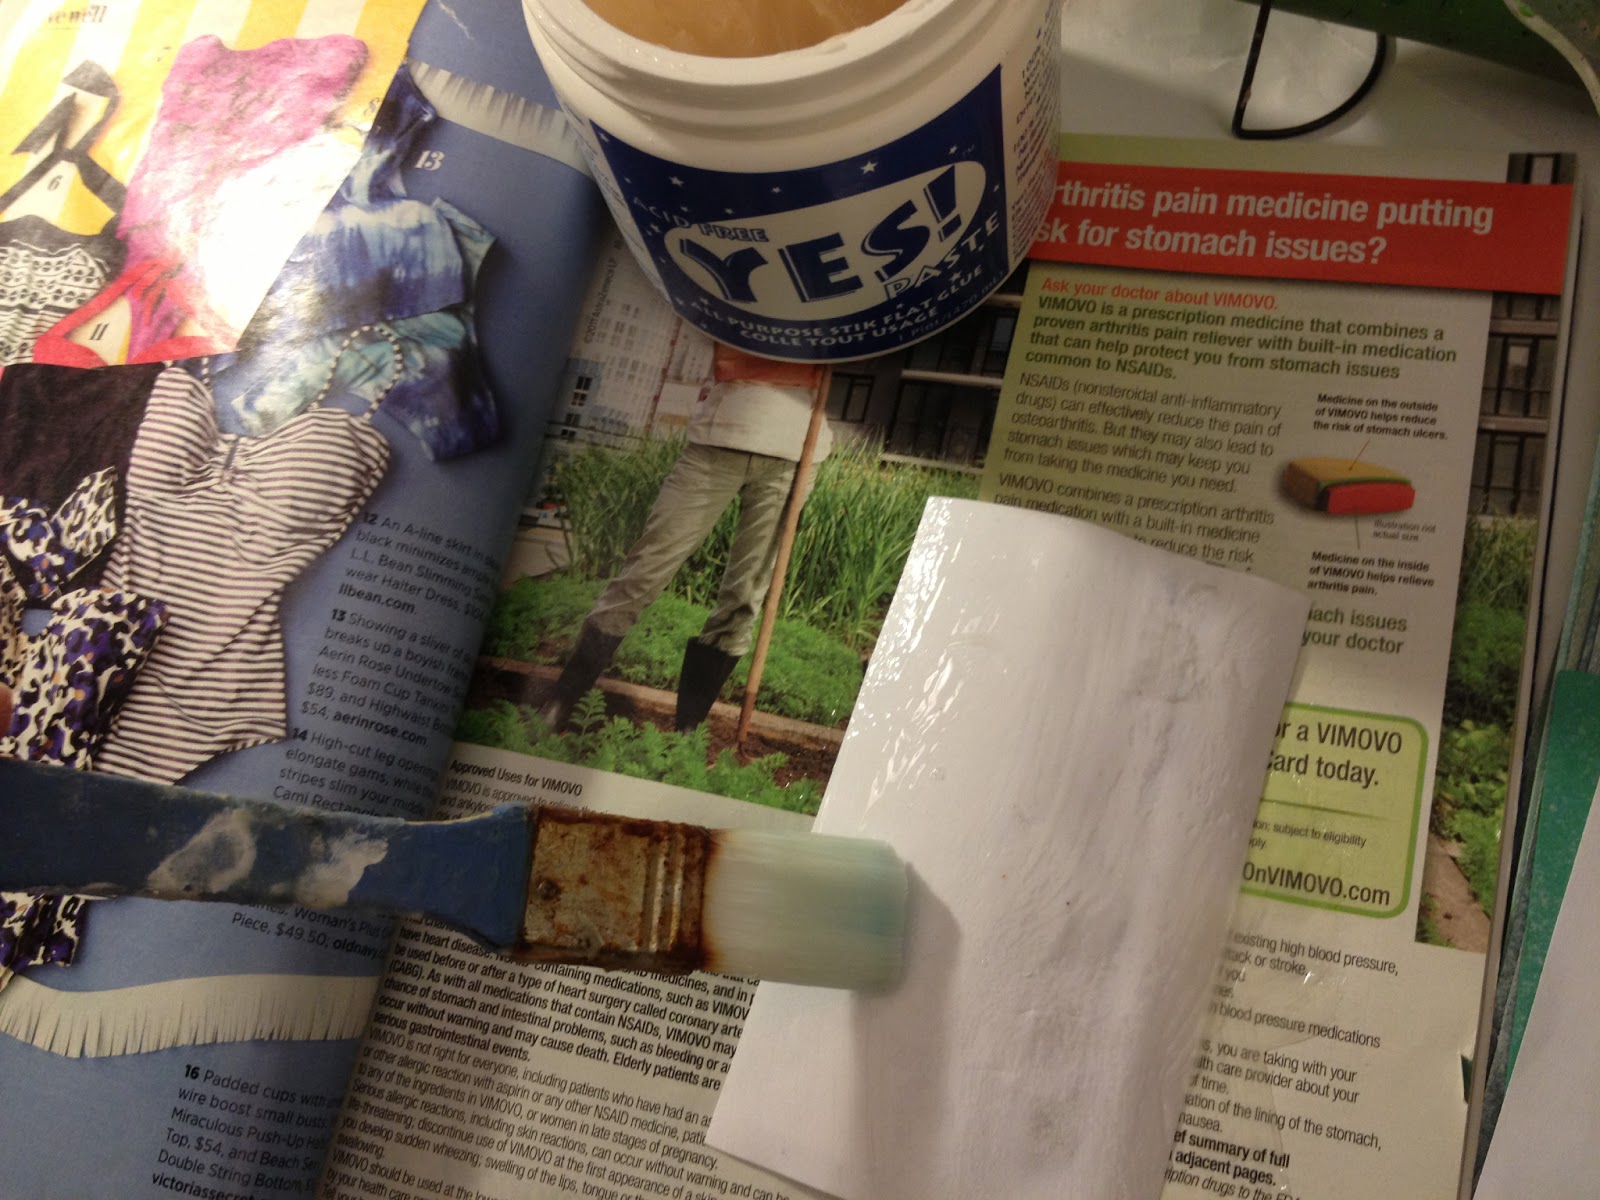
Time to break out the Yes! paste.
This paste is thick and gloppy. It has low moisture content so paper doesn't buckle when you use it. And it's strong. and sticky. did I mention sticky? it's really sticky.
I find mine at Michael's or AC Moore.
Because it's so gooey and sticky, I have to be extra careful not to get it on the front of the card, or on any of the other things laying on my work table. (there is a theme of sloppy gluing in my life)
I use old magazines for this type of gluing. I rescue magazines from recycling whenever I can. After I've clipped out all the interesting images and bits of text, I repurpose them for gluing.
In this case I am brushing my Yes paste in a thin even layer, making sure I spread it all the way out and over the edges. When done, I pick up my paper and turn the page of the magazine - trapping my gluey mess, and leaving the clean surface of the next page on which to glue my next little bit.
So now these two pieces are stuck together. I used a little book pressure to make sure they were good and stuck. I notice that my surface is unevenly shiny from my sloppy mod podge application.
I give the entire surface an even coat of mod podge, using a soft brush. This seals the whole thing, gives some extra insurance that all the papers stay put, and creates an even surface. The initial moisture of the glue makes the whole thing buckle, so after waiting 5-10 minutes for the surface to dry a wee bit, I tuck it back into the freezer wrap sandwich and weigh it down under my books again.
At this point I will go to bed and leave it under pressure over night.
When I wake I have a nice flat, dry, evenly sealed postcard.
I bend it and curl it, this way and that, and none of the collage elements are lifting off. This baby's going to arrive at its destination intact!
So tell me - how do you make things stick?
If you have a blog post, video or tutorial of any sort, give us the link.
Or leave a glue tip in the comments.
You can add links to more than one of your own posts if you like, and your links needn't be limited to glue related issues. Share anything related to mail art.
We want to see what you're up to!