Friday, April 29, 2022

FROTTAGE TECHNIQUE: PATTERNS & TEXTURES - Post Card Swap - Postmark by May 23rd

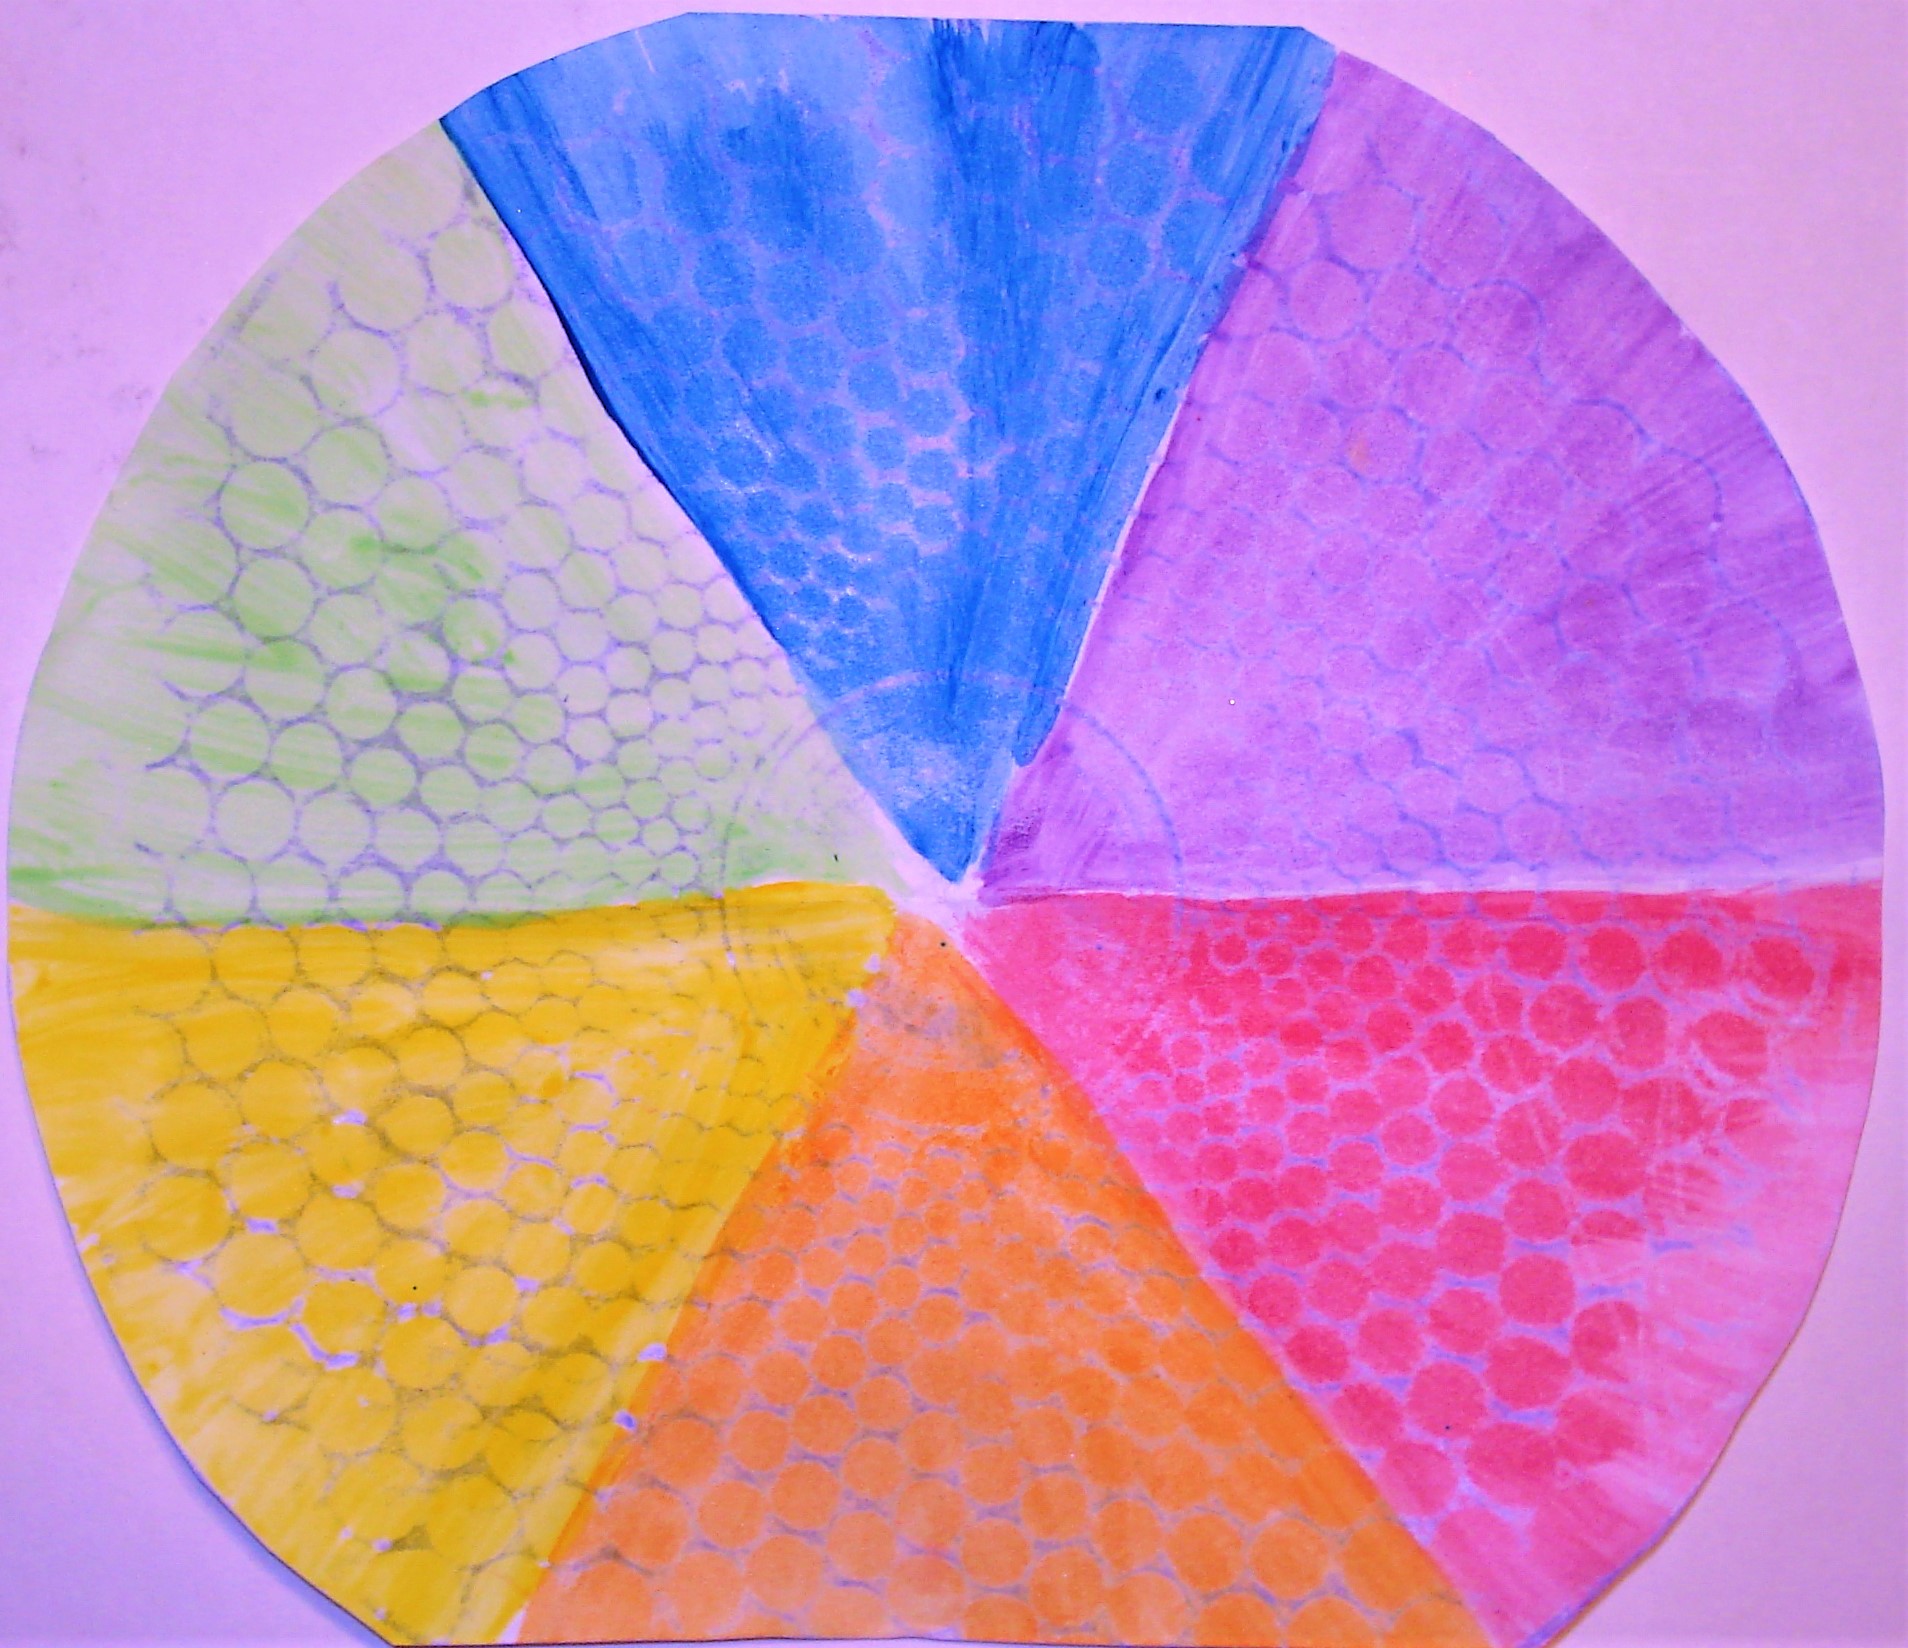
Watercolors over crayon rubbing from air filter - hhc

 I learned a new word!  (Not to be confused with "fromage.")  An online search for "Frottage" showed some very interesting examples of this technique.

For this Post Card exchange, use the side of a partially peeled wax crayon or a charcoal pencil (or whatever works for you) to make rubbings of patterns/textures from some items around your home, your work space, or the environment.

Take a look around and really notice the patterns and textures on many surfaces.  Some obvious examples are:  pressed glassware, wicker baskets, lacy tablecloths, wire baskets, metal gratings, carved wood, etc.


Crayon rubbing of above air filter cover

Raised wall paneling textures or decorative tiles are possibilities.  And look to the art room for design sources like texture plates, sequin waste, or building supplies like hardware cloth or seam tape.

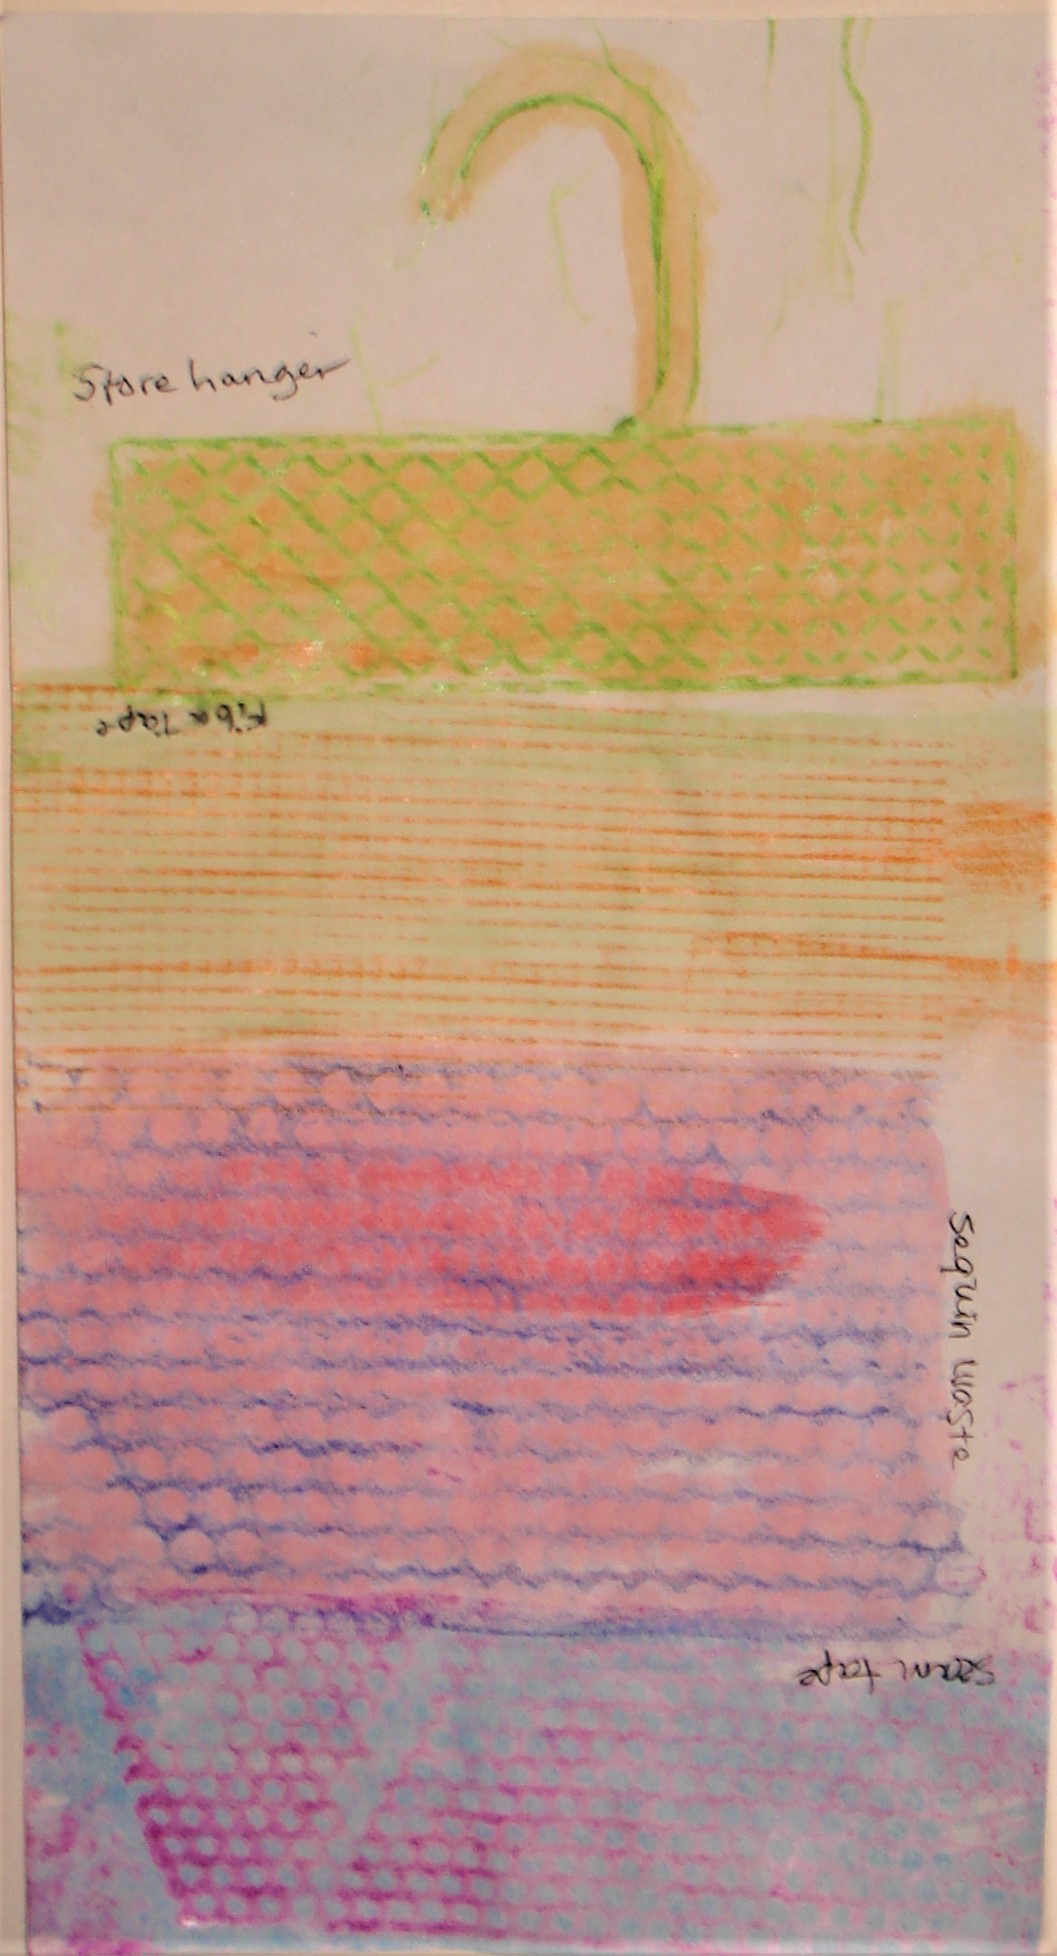
Here are some patterns I lifted onto copy paper with crayon rubbings:


Some shallow textures might require using a thinner paper like tissue paper or tracing paper (maybe Deli wrap?) instead of copy paper.

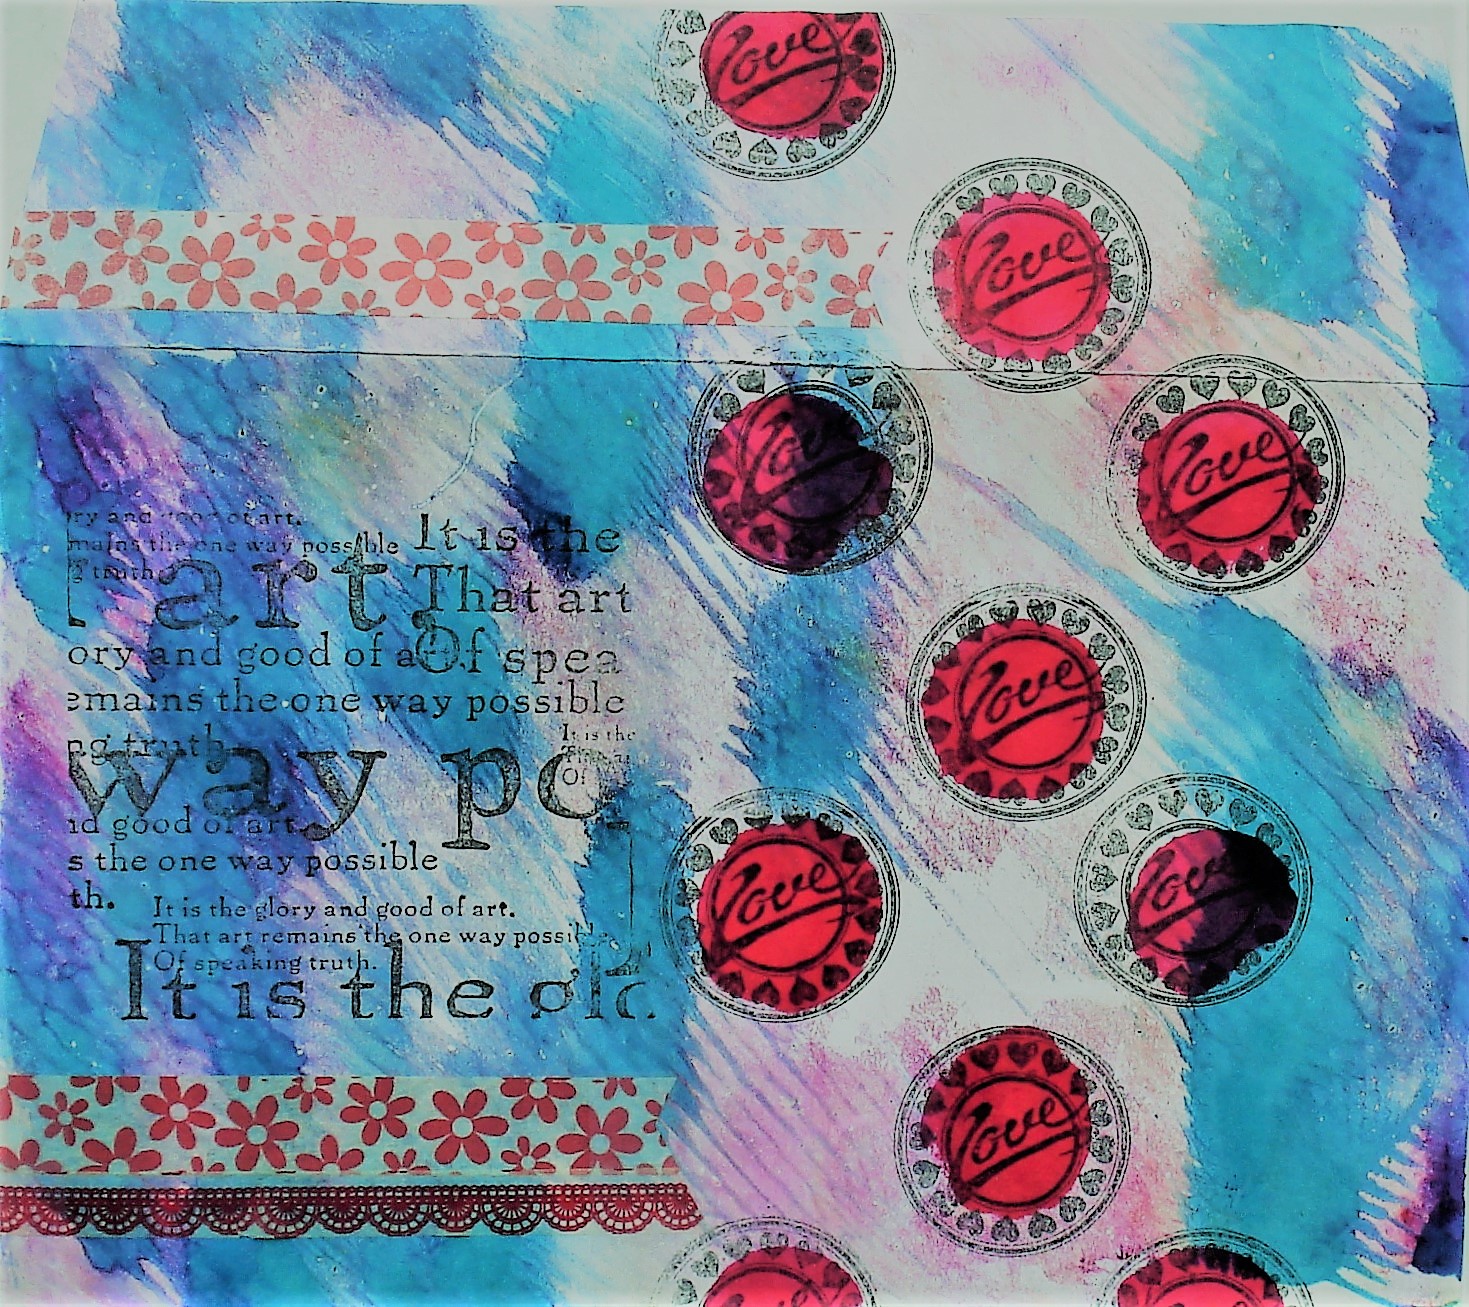
Crayon rubbing on white tissue paper over thin plastic stencil. Lifted print applied over security envelope liner pattern, plus collage
 
It's fine to add details with collage, rubber stamp images or other markings over your textures, but we do want to see your patterns :) 

You can use one pattern or combine several as you create 1 - 4 post cards to be exchanged with swap partners.

NOTE:  I tried pressing ink pads over the waxed designs but the strong colors overpowered the delicate designs.  However, watercolors added a pretty contrast, making a nice "background" and also fortified the papers I had used. 

On the reverse side of each card you make, please list what items or surfaces you lifted your patterns from.


Send your post cards plus sufficient loose postage. Also include self-address labels (one for each piece of art you send in).

Sample lay-out of post card back


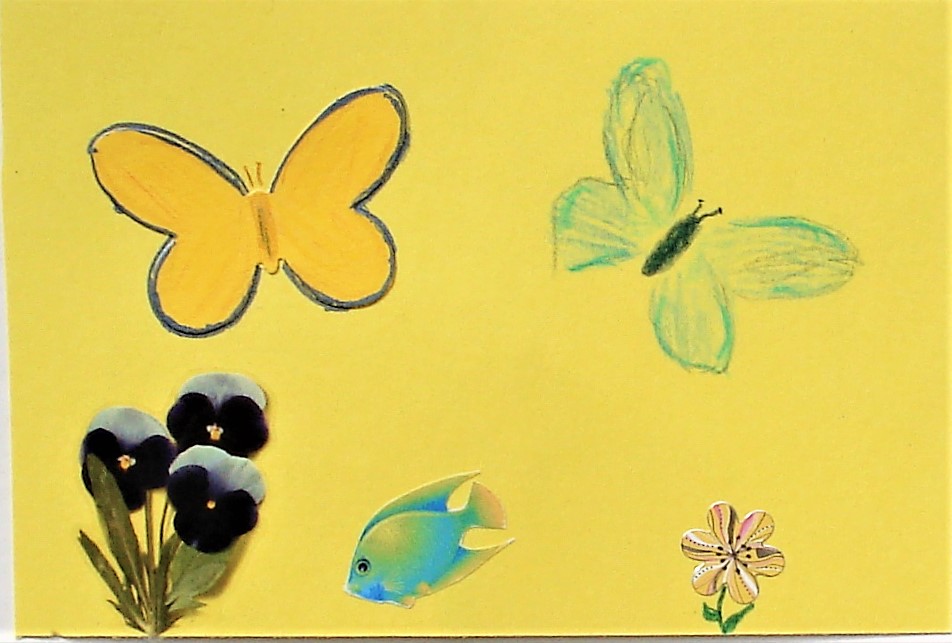
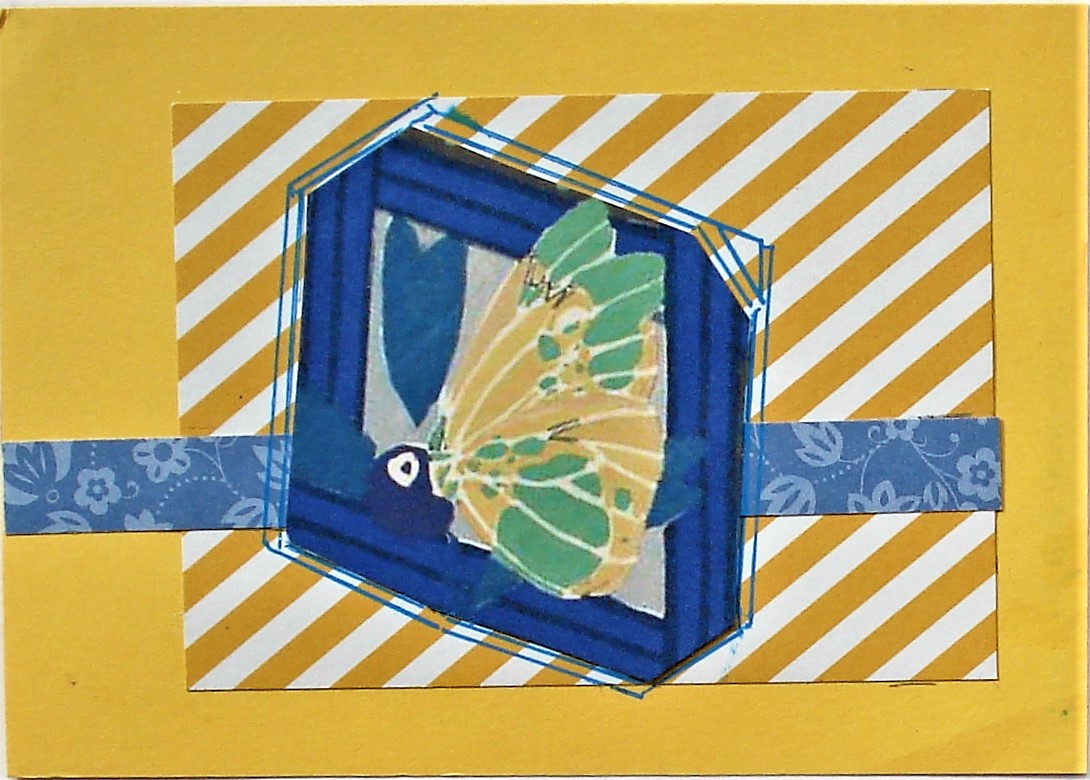
Watercolored wax rubbings collaged
over marbleized background

Post card with collaged watercolored patterns lifted by crayon, over marbleized background


Saturday, April 23, 2022

ANOTHER DECORATED ENVELOPES SWAP - Postmark by MONDAY May 9th

Hello Fellow Mail Art Swappers, 

Here's another opportunity to make and share fun/gorgeous envelopes to brighten up some postal workers' day.  As you will see, I couldn't stop making up examples!!! 

Participants, create 5 (five) decorated mailing envelopes. 

Send in using one plain outer envelope. 

Enclose one loose self-address mailing label

and 2 FOREVER STAMPS (loose postage ) to cover my eventual mail-out costs. 

Most of my examples are greeting card size.  I will send your envelopes along using 6" x 9" brown mailer envelopes I have on hand, or in larger mailers if needed to accommodate decorated longer business type envelopes.  
You could repurpose unused business reply envelopes- I get them every day!!! :) 

Bottom line:  you don't need to include a stamped self-addressed return envelope for the Decorated Envelopes coming back to you, since we won't know what size the envelopes from your swap partners will be, until the exchange is wrapped up.  

I'll be using my own brown envelopes to send your decorated envelopes along to their new homes :)

Your own loose self-address label and loose postage (2 Forever Stamps) will help me process the swap.

Some ideas for mediums/materials and techniques might include

PAINT, INK, CRAYON, WATERCOLORS (use fixative before sending in?), LOW-PROFILE COLLAGE, RUBBER STAMPING, WASHI TAPE, STICKERS, STENCILS, ETC.

NOTE:

Keep in mind that some swappers may want to actually use your artful envelopes for mailing out. Minimum allowed envelope size to go through the postal system is 3+1/2" x 5".

 Others may just save them, adding them to their treasured mail art collections :)

Please separate any painted or inked pieces with waxed paper, Deli sheets or parchment to prevent them from sticking together in transit...

 
All of my samples shown were made this week, with rubber stamp inks plus alcohol inks on a Gelli Plate, and decorated with either rubber stamped images, stencil patterns, or Washi Tape, etc.  I used a plastic toothed dry-wall tool to make parallel lines and swirls through the inks before they dried.

Sunday, April 17, 2022

BLUE & YELLOW TOGETHER - Part 3

 Four from Andrea M:


Three from Joanne R:


Two from Joyce:


Three from Margaret R:


Friday, April 15, 2022

BLUE & YELLOW TOGETHER - Part 2

Three from Anna: 


Four from Ellen:


Four from Janet R:


Four from LaDonna:


Four from Sarah: