Saturday, April 23, 2022

ANOTHER DECORATED ENVELOPES SWAP - Postmark by MONDAY May 9th

Hello Fellow Mail Art Swappers, 

Here's another opportunity to make and share fun/gorgeous envelopes to brighten up some postal workers' day.  As you will see, I couldn't stop making up examples!!! 

Participants, create 5 (five) decorated mailing envelopes. 

Send in using one plain outer envelope. 

Enclose one loose self-address mailing label

and 2 FOREVER STAMPS (loose postage ) to cover my eventual mail-out costs. 

Most of my examples are greeting card size.  I will send your envelopes along using 6" x 9" brown mailer envelopes I have on hand, or in larger mailers if needed to accommodate decorated longer business type envelopes.  
You could repurpose unused business reply envelopes- I get them every day!!! :) 

Bottom line:  you don't need to include a stamped self-addressed return envelope for the Decorated Envelopes coming back to you, since we won't know what size the envelopes from your swap partners will be, until the exchange is wrapped up.  

I'll be using my own brown envelopes to send your decorated envelopes along to their new homes :)

Your own loose self-address label and loose postage (2 Forever Stamps) will help me process the swap.

Some ideas for mediums/materials and techniques might include

PAINT, INK, CRAYON, WATERCOLORS (use fixative before sending in?), LOW-PROFILE COLLAGE, RUBBER STAMPING, WASHI TAPE, STICKERS, STENCILS, ETC.

NOTE:

Keep in mind that some swappers may want to actually use your artful envelopes for mailing out. Minimum allowed envelope size to go through the postal system is 3+1/2" x 5".

 Others may just save them, adding them to their treasured mail art collections :)

Please separate any painted or inked pieces with waxed paper, Deli sheets or parchment to prevent them from sticking together in transit...

 
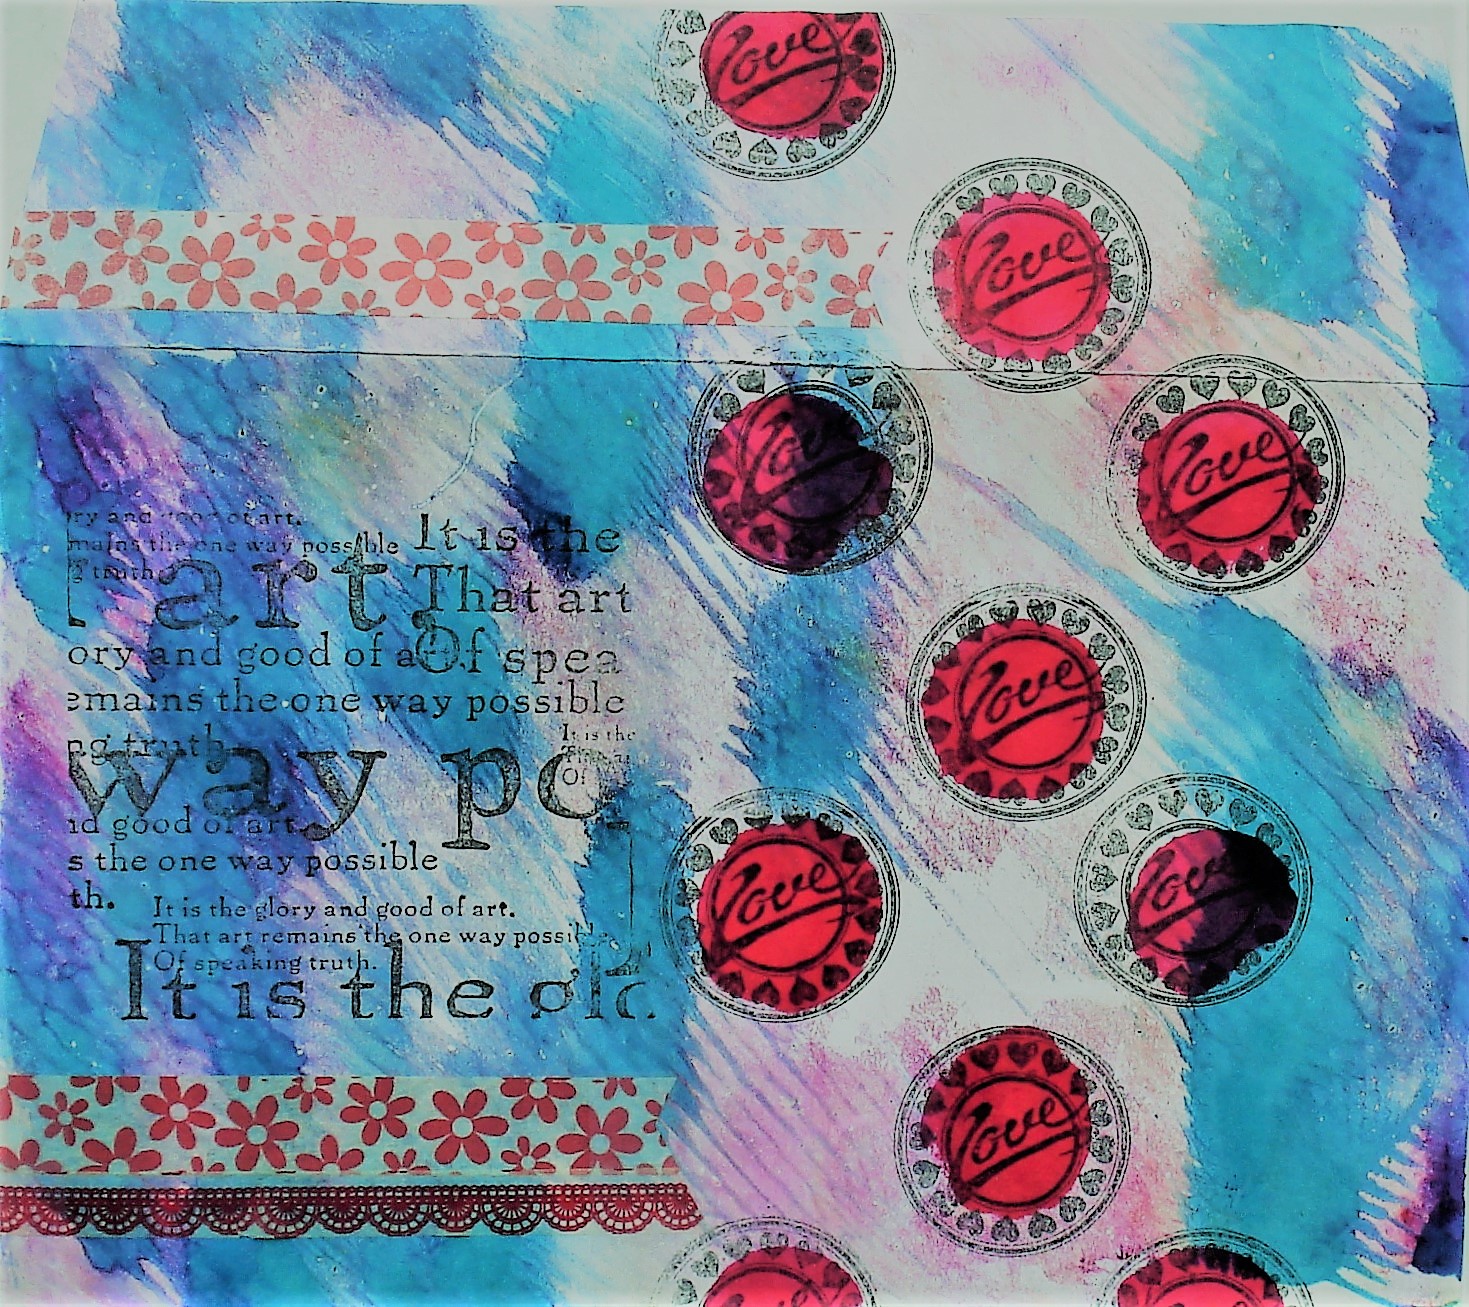
All of my samples shown were made this week, with rubber stamp inks plus alcohol inks on a Gelli Plate, and decorated with either rubber stamped images, stencil patterns, or Washi Tape, etc.  I used a plastic toothed dry-wall tool to make parallel lines and swirls through the inks before they dried.

No comments:

Post a Comment