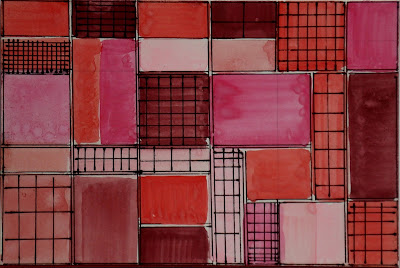
Four from Tricia J:
MAIL ART POST CARD TEMPLATE
Some new participants are interested to
know what information to include,
and where, on the backs of their
mail art post cards.
Since a picture paints a thousand words,
here is an instructional sample
for ALL participants to consider:
There is a reason for the placement
of every element on the back of
the post cards we make.
Most of this is to comply with
postal regulations, and to facilitate
postal regulations, and to facilitate
expedient processing by the
US Postal System.
H
String Of Beads Post Card Swap - Postmark by March 26th
 |
| R&W tissue paper pre-coated with Gloss Medium Gel. Black punch-outs coated later with Glossy Accents. |
For these samples I tried several finishes to make paper (collage) appear 3-D and shiny: Glossy Accents, Gloss Gel Medium, and colored finger nail polish (enamel). Clear nail polish might work well, too.
 |
| Pink nail polish over punch-outs from painted paper (see pink painted paper in the background)... Glossy Accents over black "beads" |
Twelve-Steps Art Challenge - Part 6
One from Angelina
One from Carlos:
One from Diego:
One from Emma:
One from Enrique:
One from Frank:
One from Jocelyn:
One from Joel:
One from Lily:
One from Megan:
One from Mercedes:
One from Michael:
One from Sahian:
One from Somy:
One from Victoria:


