
 |
| bh hhc |
Hello wonderful Mail Art swappers,
I hope you are staying cool this summer and finding time to make more marvelous mail art :) Here is another really fun technique challenge, one that comes with a safety consideration.
 |
| by hhc |
 |
| by hhc |
Put down plastic sheets or towels to protect your work surface, or work in a large sink. Wear an old T-shirt or apron...
Have on hand some of the larger plastic drinking straws, one for each color you plan to work with.
Prepare several large disposable cups, one for each color of paint you want to use.
 |
| by hhc |
Gently stir in A FEW DROPS OF WATER to each cup, not very much.
Get out some liquid acrylic paints of various colors and put a few drops of paint and a few drops of water in each cup. (Experiment for best results...) OR slightly water down a small quantity of several colors from your tube paints, each color in its own cup. Stir gently.

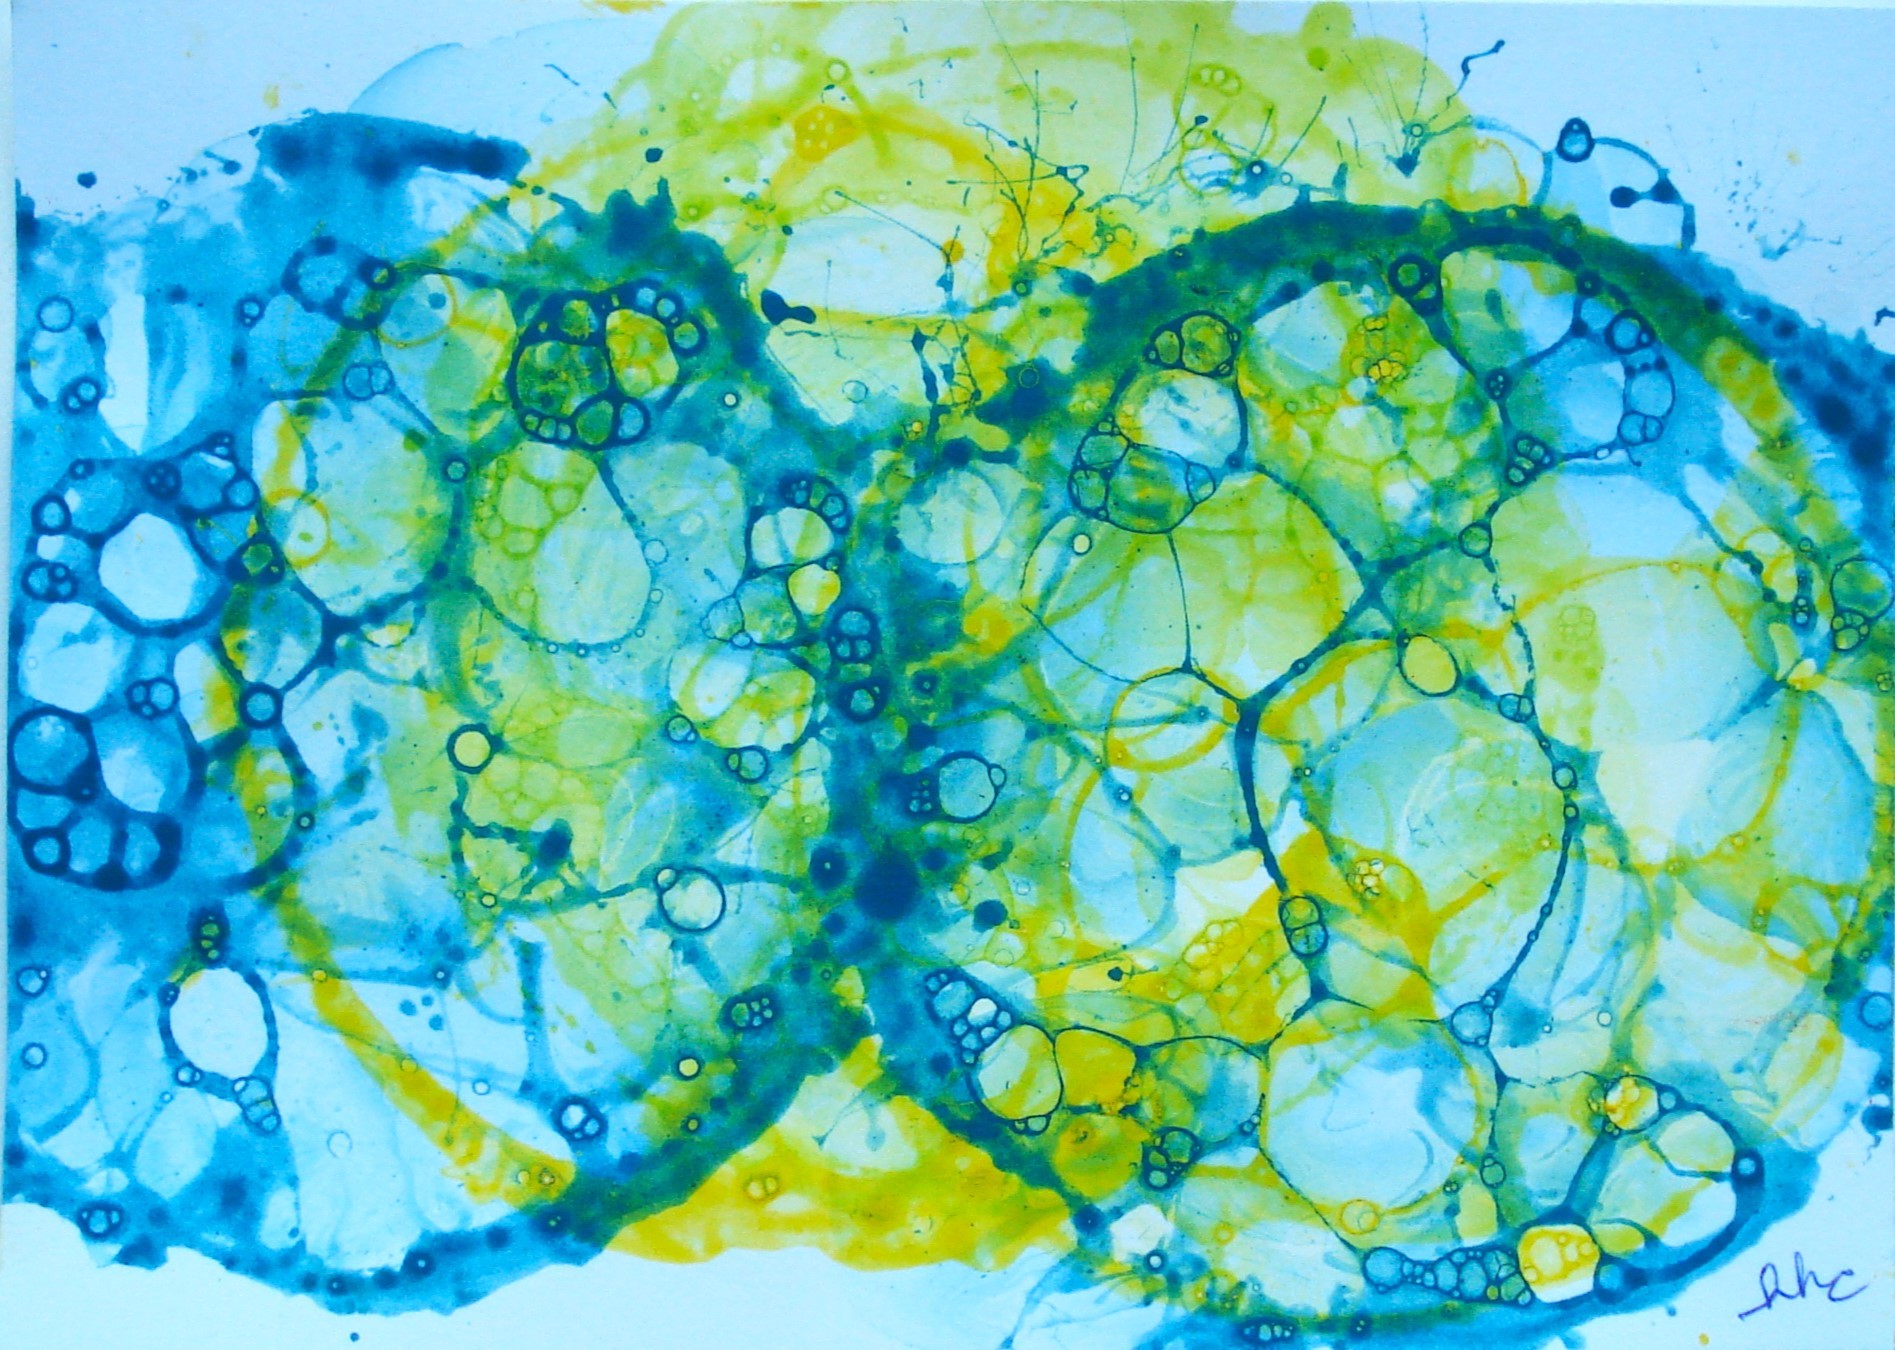
I started out with a cup for YELLOW, GREEN, BURGUNDY, RED, and CARRIBEAN BLUE.

 |
| by hhc |
 |
| by hhc |
Pull the straw out and quickly---
Press one of your PC blank cards onto the bubbles at the top of the cup, patting to make full contact.
Then lift off your post card and set your Bubble Art on a newspaper, paper bag, paper towel, plastic sheet to dry. Repeat. You can over-print or make multi-colored prints, letting the previous color dry first. (Or not...)
I added stickers or collage elements to some of my examples.
I truly hope each participant will have so much fun that it will be difficult to stop making prints :)
Participants: for this exchange, make 1 - 4 post cards...
 |
| SAMPLE/TEMPLATE FOR BACK OF POST CARD |
SWAP DETAILS:
- You may submit as many as four Post Cards. (You will get back the same number you send in, each from a different artist.)
- If you're sending more than one PC, please insert waxed paper or parchment between the
- cards if there is a chance they might get stuck together in the envelope.
- Include an address label and sufficient loose postage for each card you send in.
- Please write your return address or email address on the back of the PC in the upper left corner, so the recipient can thank you.
- Also, kindly note the Swap Name on the back of your post card.
- Please get your 1 - 4 post cards into the mailing system by MONDAY, JULY 24TH